
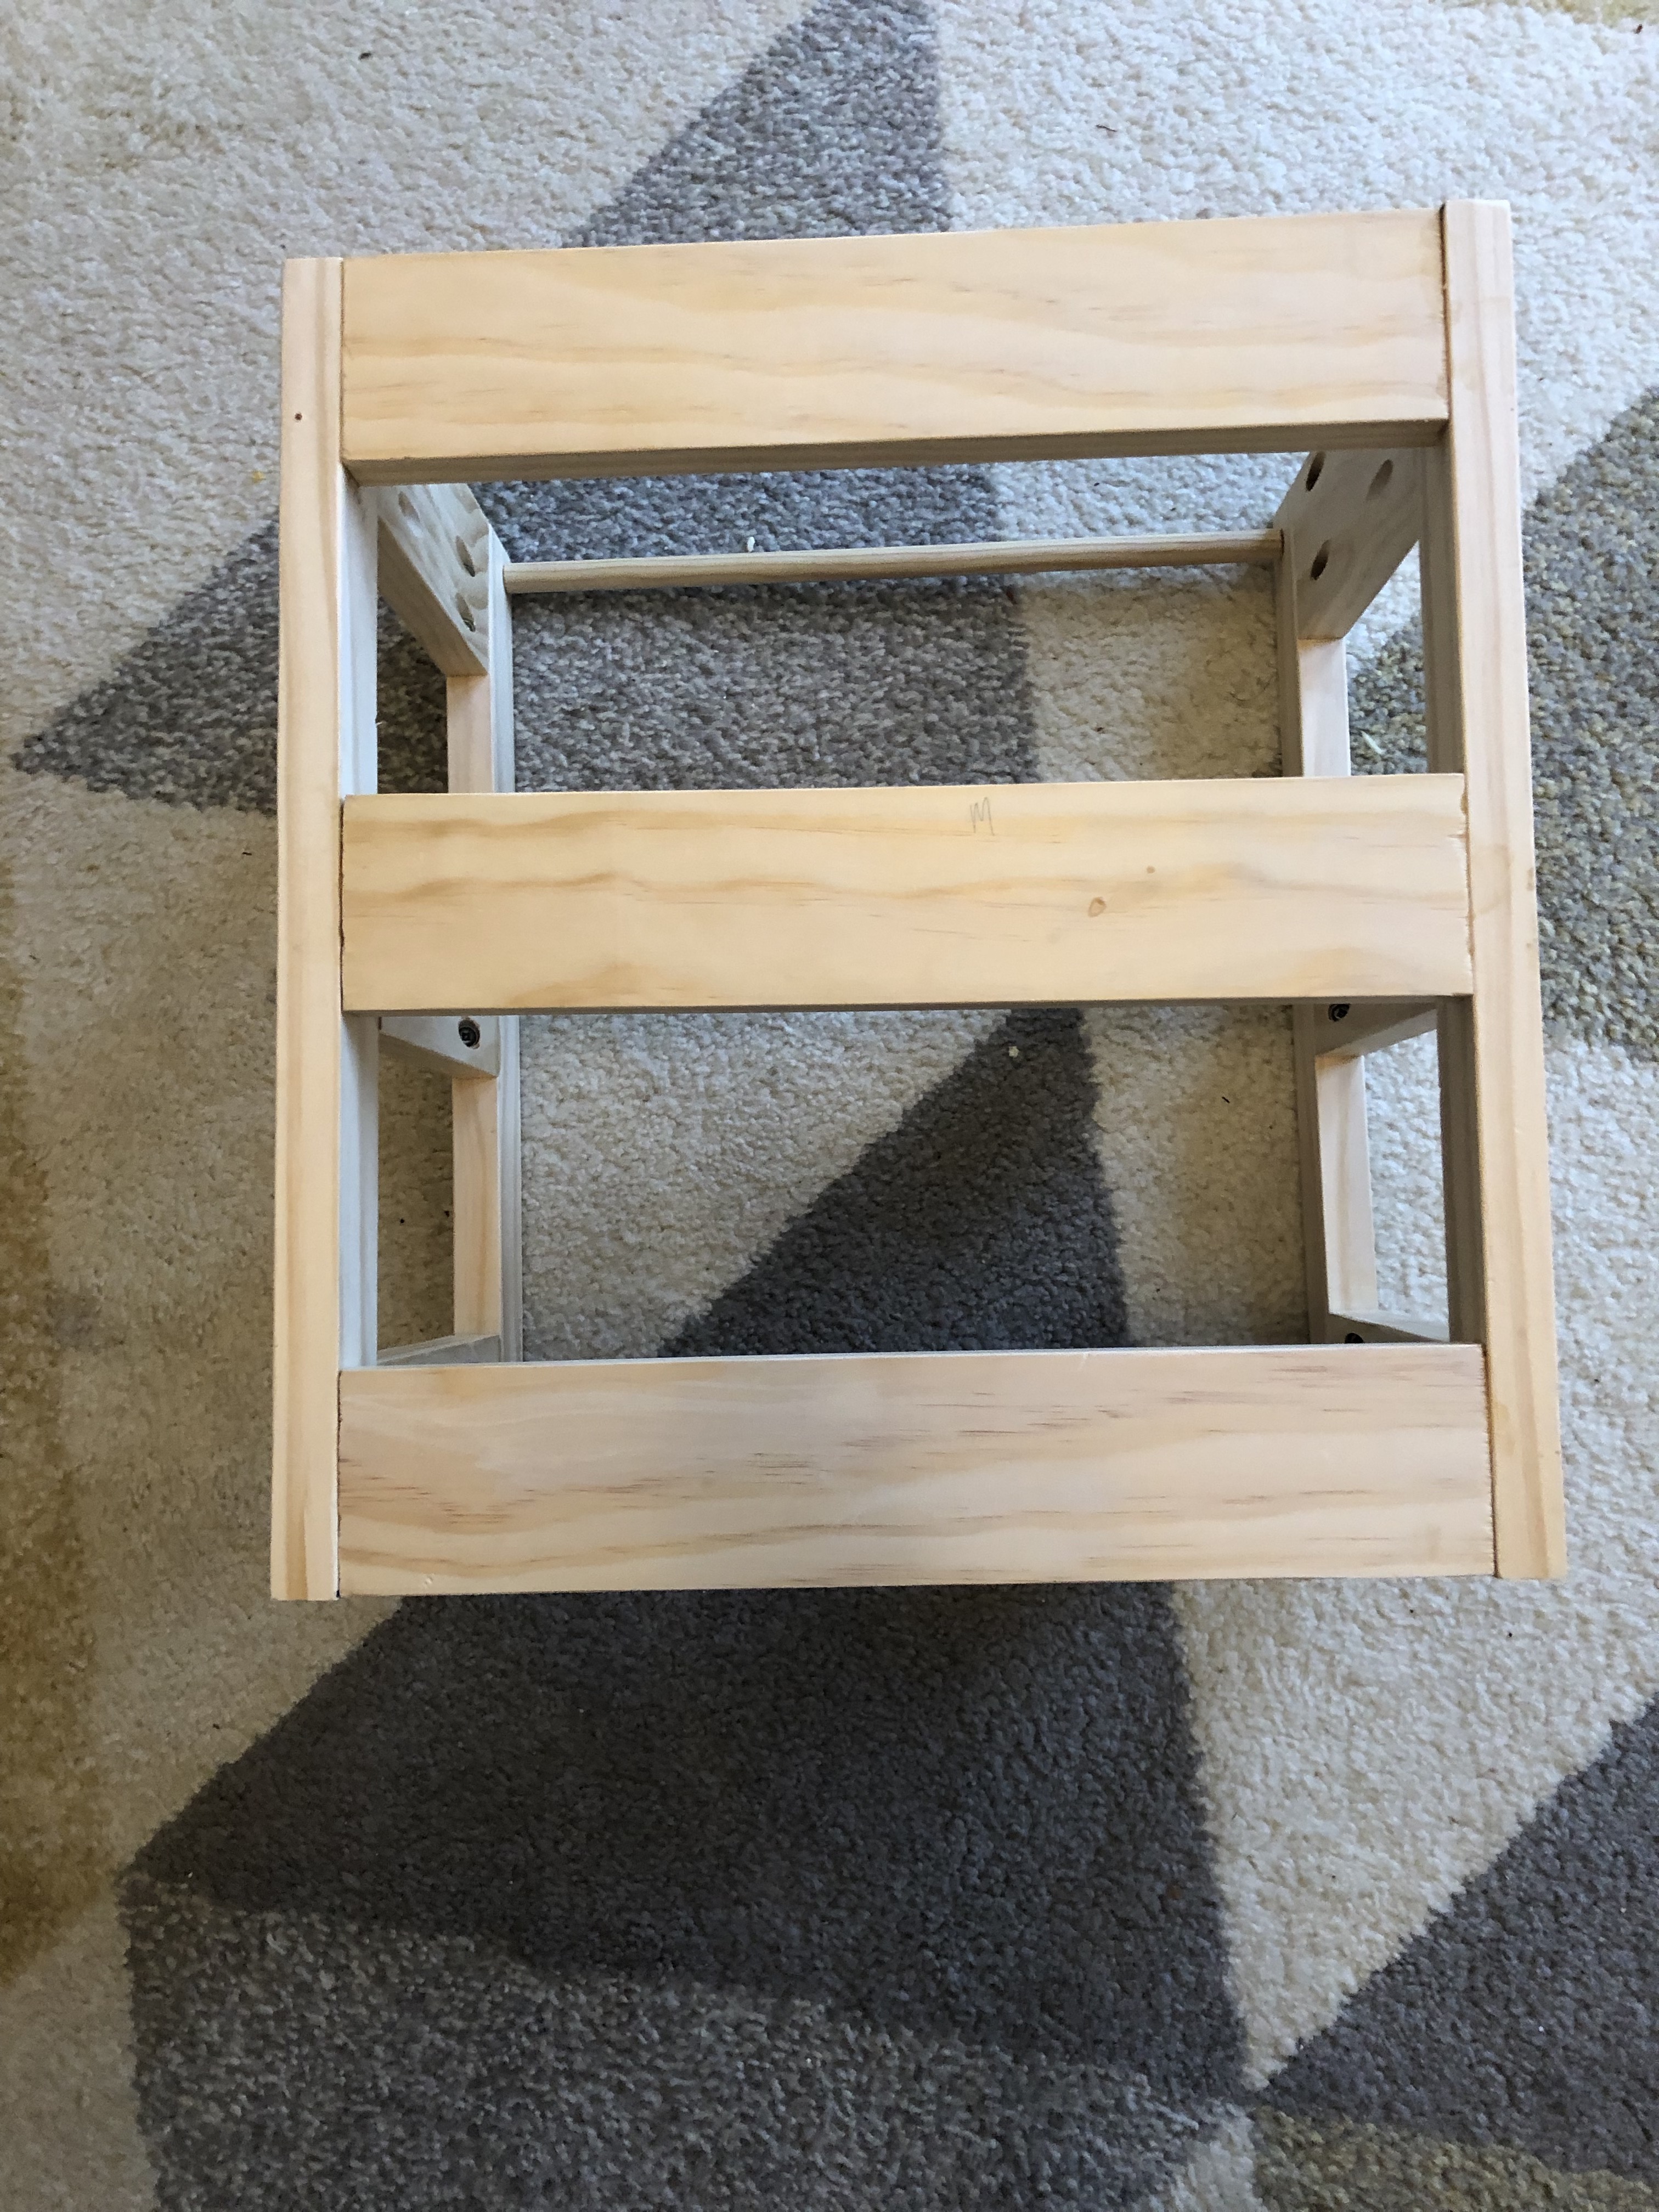

This is the top of the stool “railing” and then is attached with wood screws to the base or stool as you can see in the top picture.
Project Tools and Supplies:
(1) 6′ long 1×2 Select Pine Board
(1) 6′ Long 1×3 Select Pine Board
(1) 1″ Dowel Rod (shortest length available)
Pencil
Measuring Tape
2 Cans Spray Primer
1-2 Cans Spray Paint
(6-8) 1.5″ #6 Wood Screws with Flat heads
1 Kreg Jig K4 Pocket Hole System
Kreg Blue Coat Pocket Screws 1.25″
Kreg Paintable Plugs
Wood Filler
Wood Glue
Sand Paper
Face Mask
Goggles
Drill
Now you need a way to cut the wood. I borrowed a Miter Saw from my library tool lending program. You could use a hand saw, a table saw or you can have your wood cut at Home Depot for .50 per cut. The only caveat is they will not cut anything under 12″, so for the side railing pieces you will need to cut yourself or find some pre-cut boards.
Step 1: Assemble the Bevkam Stool using the instructions provided from Ikea. Leave the top off for now so you can easily attach it to your finished railing.
Step 2: Cut your wood (or have it cut at Home Depot). You will need the following cuts:
1. 1×2 Piece of Wood: (4) 15.5″ pieces Vertical posts attached to the stool and they provide the four corners of the railing. *If your counters are higher you may want to adjust the height of these. My counters are 36″ high.
2. 1×3 Piece of wood (6) 6.5″ pieces & (3) 12.75″ pieces Horizontal slats on the railing.
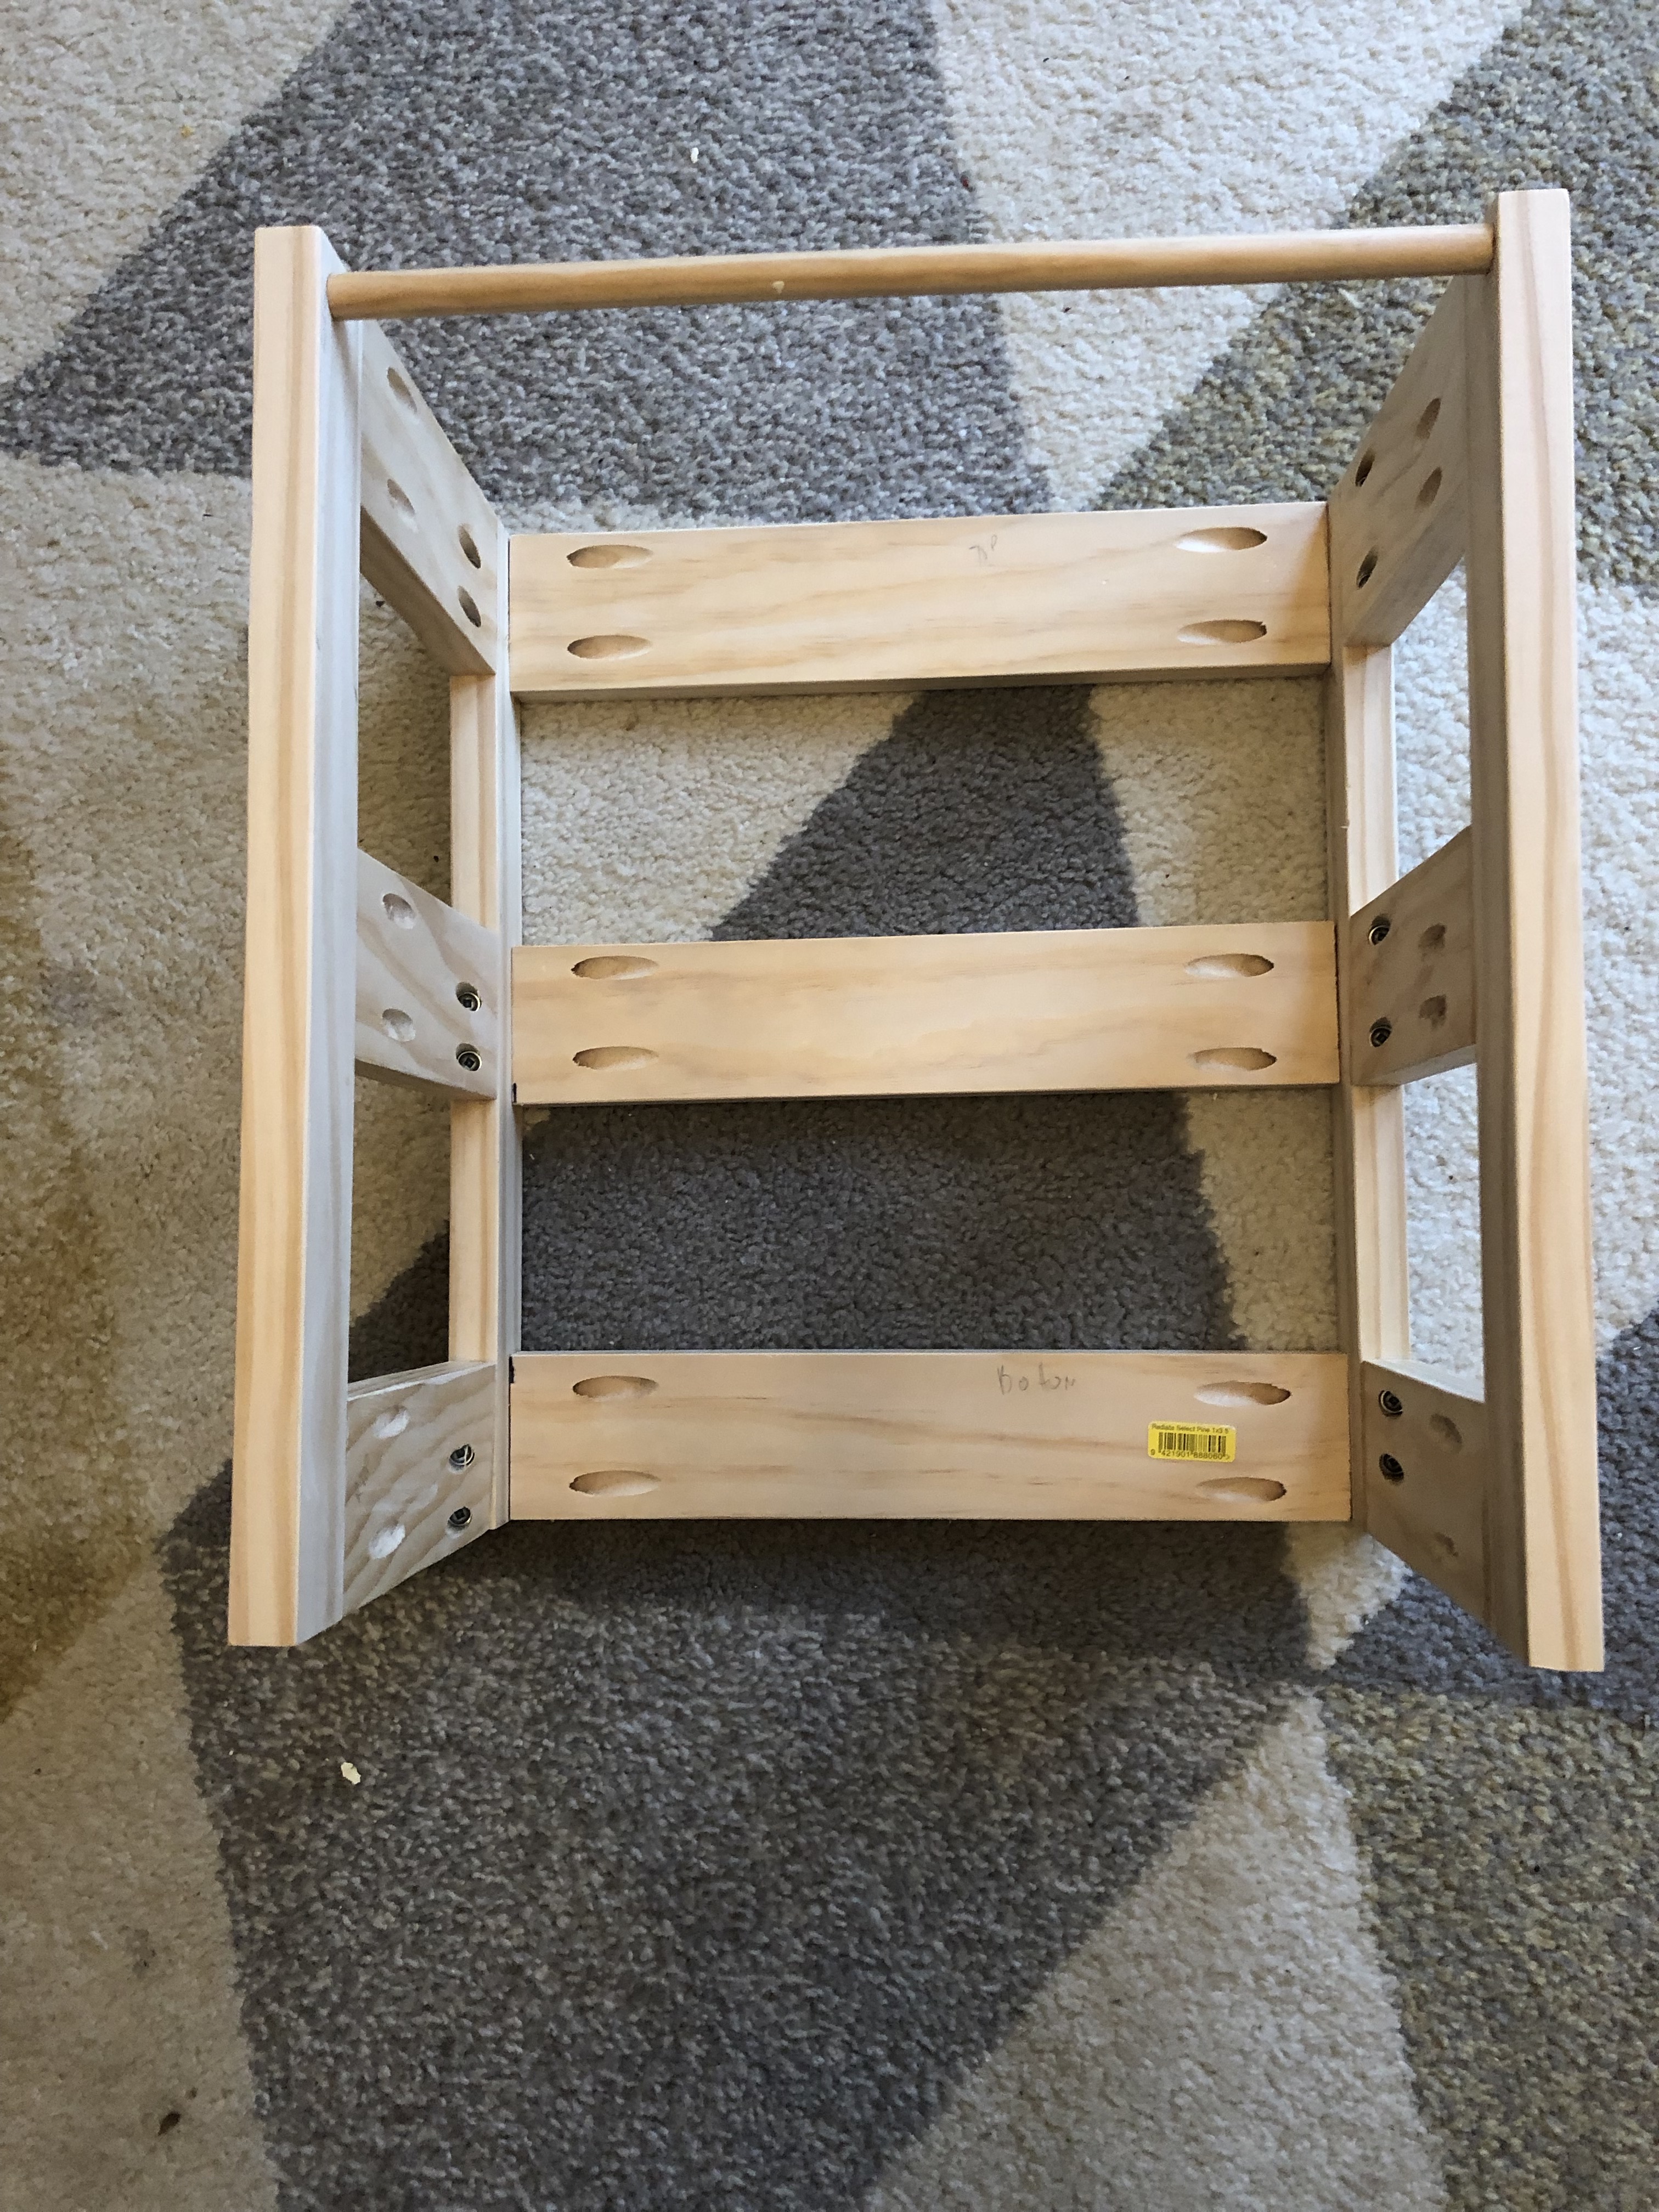
3. The Dowel rod should be 12.75″ Back bar on the top of the stool
Step 3: Sand all your wood so the edges are a little rounded and the wood is smooth.
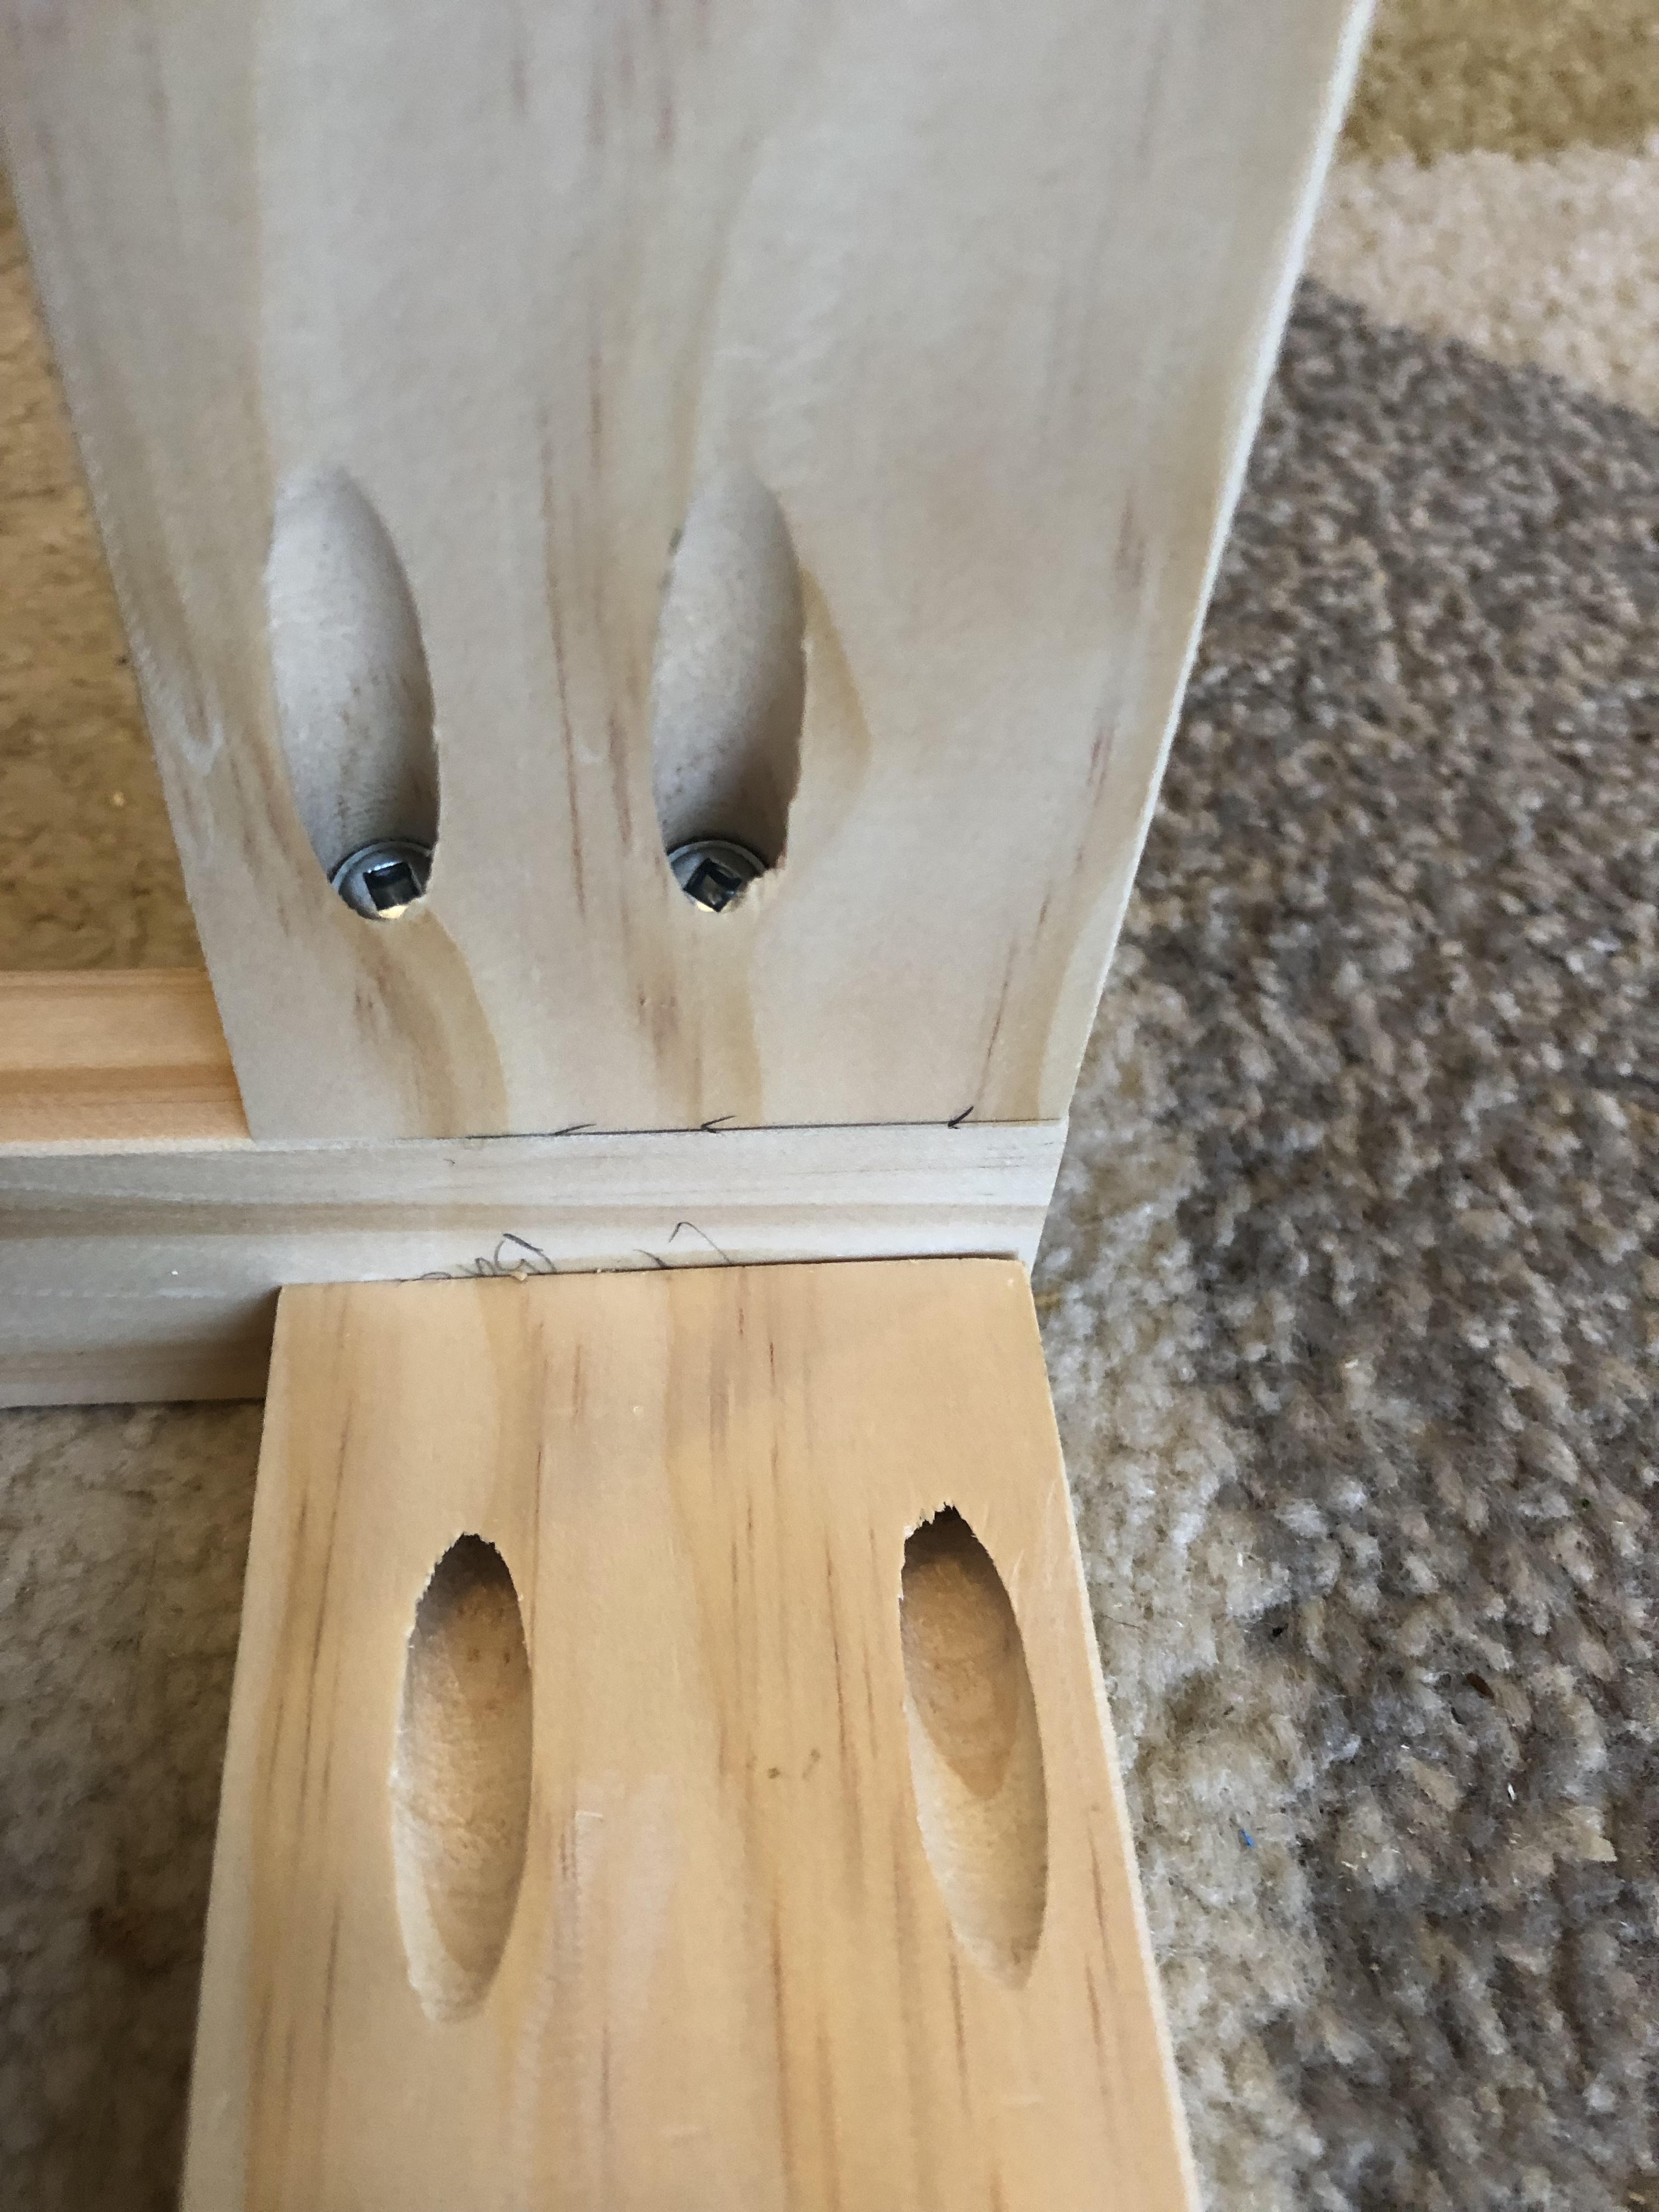
Step 4: Drill the Kreg holes with the Kreg Drill bit into the wood. I would recommend laying the wood out first and making sure the sizes are correct and it all fits together. If you don’t know how to use a Kreg Jig there are some great videos on YouTube you can source. You can see I put two screws into each end of each piece of the railing wood.
Step 5: Start attaching the side railings to the posts using the Kreg Screws & Kreg Screw head bit with your Drill. Use the right angle clamp to secure the joint before screwing in the Kreg screws. I cannot stress enough to use the right angle clamp! The first stool I ever made I thought I could get by without it and my angles were off and the posts are not straight!
Step 6: Once you have both sides assembled, plug the holes in the side boards with the Kreg Plugs & Wood Glue & filler and sand them down.
Step 7: Start attaching the longer railings to bring it all together! Then Plug the holes in the back boards & sand as well.
Step 8: Using the #6 1.5″ screws attach the dowel. This will be the side your kids crawl up onto the stool. Just screw from outside of the post into the dowel rod and try to sink the screw a little if you can. I even used the Kreg Jig drill bit and drilled a sunken hole for the screw and then used some wood filler to cover it.
Step 9: Attach your railing to the stool top! Using the 1.5″ Wood screws attach using the screws into the bottom slats. I put 2 screws in each of the 3 bottom railing pieces. I do not recommend drilling into the posts as the wood grain is running vertical and it won’t “catch” the screws as well. It is important you are using flat screws or sinking them slightly into the stool top so you can secure it to the base. Now just attach your finished railing and stool top to the base. **You can also wait to attach to the base until after you paint it all.
Step 10: You are ready to prime & paint! Please use a well ventilated area, and follow directions for coats & drying times.
All in all I found this project to be very enjoyable and rewarding!
